OLYMPIC WEIGHTLIFTING
EDUCATION & TRAINING LEADER
CATALYST ATHLETICS | SINCE 2006
EDUCATION & TRAINING LEADER
CATALYST ATHLETICS | SINCE 2006
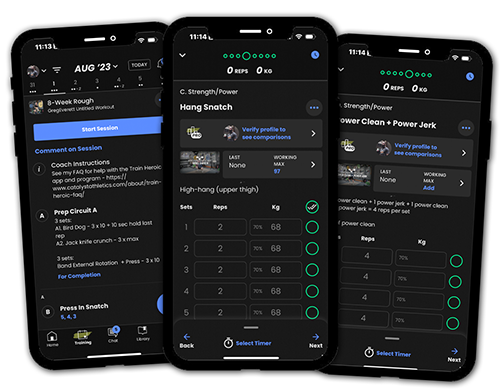
Programs with Coaching
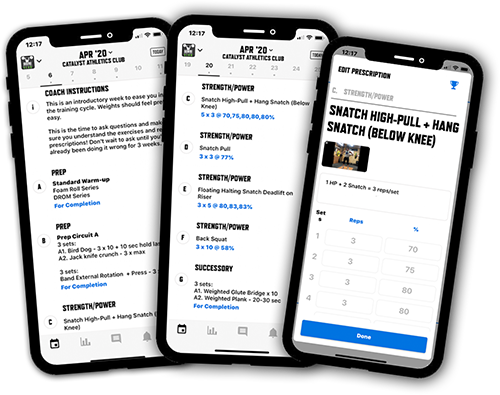
Get proven Olympic weightlifting programming and video technique coaching from Greg Everett for an affordable monthly rate. Start a free trial any time.
Get proven Olympic weightlifting programming and video technique coaching from Greg Everett for an affordable monthly rate. Start a free trial any time.
Training Programs
Choose from 79 Olympic weightlifting training programs from Greg Everett to suit your needs. Our programs have been used by over 109,642 athletes!
Choose from 79 Olympic weightlifting training programs from Greg Everett to suit your needs. Our programs have been used by over 109,642 athletes!